VOTD: How To Make A Working 'Ghostbusters' Ghost Trap With A 3D Printer
The world of movies is chock full of cool devices, tools, weapons and more that sadly just aren't real. Thankfully, we can buy replicas of some of our favorite sci-fi props. But if you're more of a tech savvy, hands-on kind of fan, maybe you'd just rather make your own. And if you've always wanted a Ghostbusters ghost trap of your own, we have just the video for you.
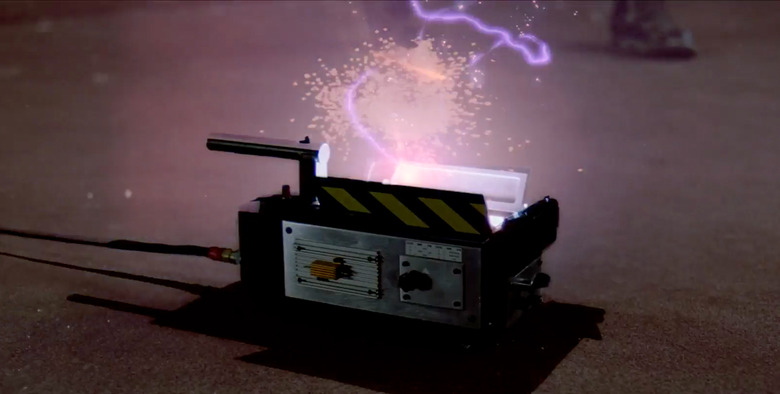
The folks over at Tested have revealed a video that shows how to make a working Ghostbusters ghost trap, complete with lights, smoke, sounds and a working pedal that opens the trap to catch those pesky spooks and spectres. What's cool is that it was created almost entirely with parts made in a 3D printer. Find out how it's done after the jump.
Here's how to make a Ghostbusters ghost trap from Tested:
Norman Chan from the Tested crew teamed with movie effects artist Sean Charlesworth to create this truly impressive homemade ghost trap. However, it did take them months to put this one together, with over 50 parts and 70 screws. The print time for all the parts alone was 40 hours, so this won't be a quick weekend project for any of you fans anxious to try this out.
For Ghostbusters purists out there, it should be noted that this creation is actually a hybrid that takes elements from the traps from the first and second Ghostbusters films. So if you're nitpicky about screen accuracy, this might not be the trap for you.
For a more in-depth look at all the components that make up this creation (including some parts that aren't 3D printed), watch this video over here. Otherwise, if you have a 3D printer and want to do this yourself, you can get the 3D print files right here.